
Properly kneaded bread dough should feel smooth, elastic, and slightly tacky to the touch, developing a springy texture that resists your fingers without sticking persistently. The most reliable indicator is the windowpane test: when you stretch a small piece of dough between your fingers, it should form a thin, translucent membrane without tearing immediately. For example, a well-kneaded all-purpose flour dough typically requires 8-10 minutes of hand kneading or 5-6 minutes in a stand mixer, though the exact time varies based on flour type, hydration level, and ambient temperature.
Beyond timing, properly developed dough will form a tight, cohesive ball that springs back when poked, rather than remaining indented or tearing. The surface should appear smooth and slightly shiny, not rough or fragmented. Beginners often stop kneading too early, thinking the dough is ready when it merely holds together, missing the critical gluten development that creates an airy crumb structure and proper rise.
Table of Contents
- What Happens During the Kneading Process
- Understanding the Windowpane Test and Its Limitations
- Visual and Tactile Signs of Properly Developed Dough
- Hand Kneading Versus Machine Mixing: Timing and Technique Differences
- Common Mistakes: Over-Kneading and Under-Kneading
- Flour Type and Hydration: How They Change Development Time
- Continuing Development Through Bulk Fermentation
- Conclusion
What Happens During the Kneading Process
Kneading develops gluten networks by stretching and aligning protein strands in the dough. This network traps gas bubbles produced during fermentation, allowing the dough to rise evenly and develop the characteristic bread texture. The mechanical work of folding, stretching, and pressing the dough strengthens these protein chains progressively, which is why timing and consistency matter significantly. The transformation happens gradually. Early in kneading, the dough appears shaggy and rough, with flour barely incorporated.
As you continue, it becomes smoother and begins to hold together as a single mass. Midway through, it becomes increasingly elastic and springs back more responsively. By the end, the dough has a satiny, almost polished appearance. Temperature affects this process noticeably. Warm dough (75-80°F) develops gluten faster than cold dough (65°F), sometimes by several minutes. A kitchen scale and thermometer can help you monitor progress, though experienced bakers develop intuition through repetition.
Understanding the Windowpane Test and Its Limitations
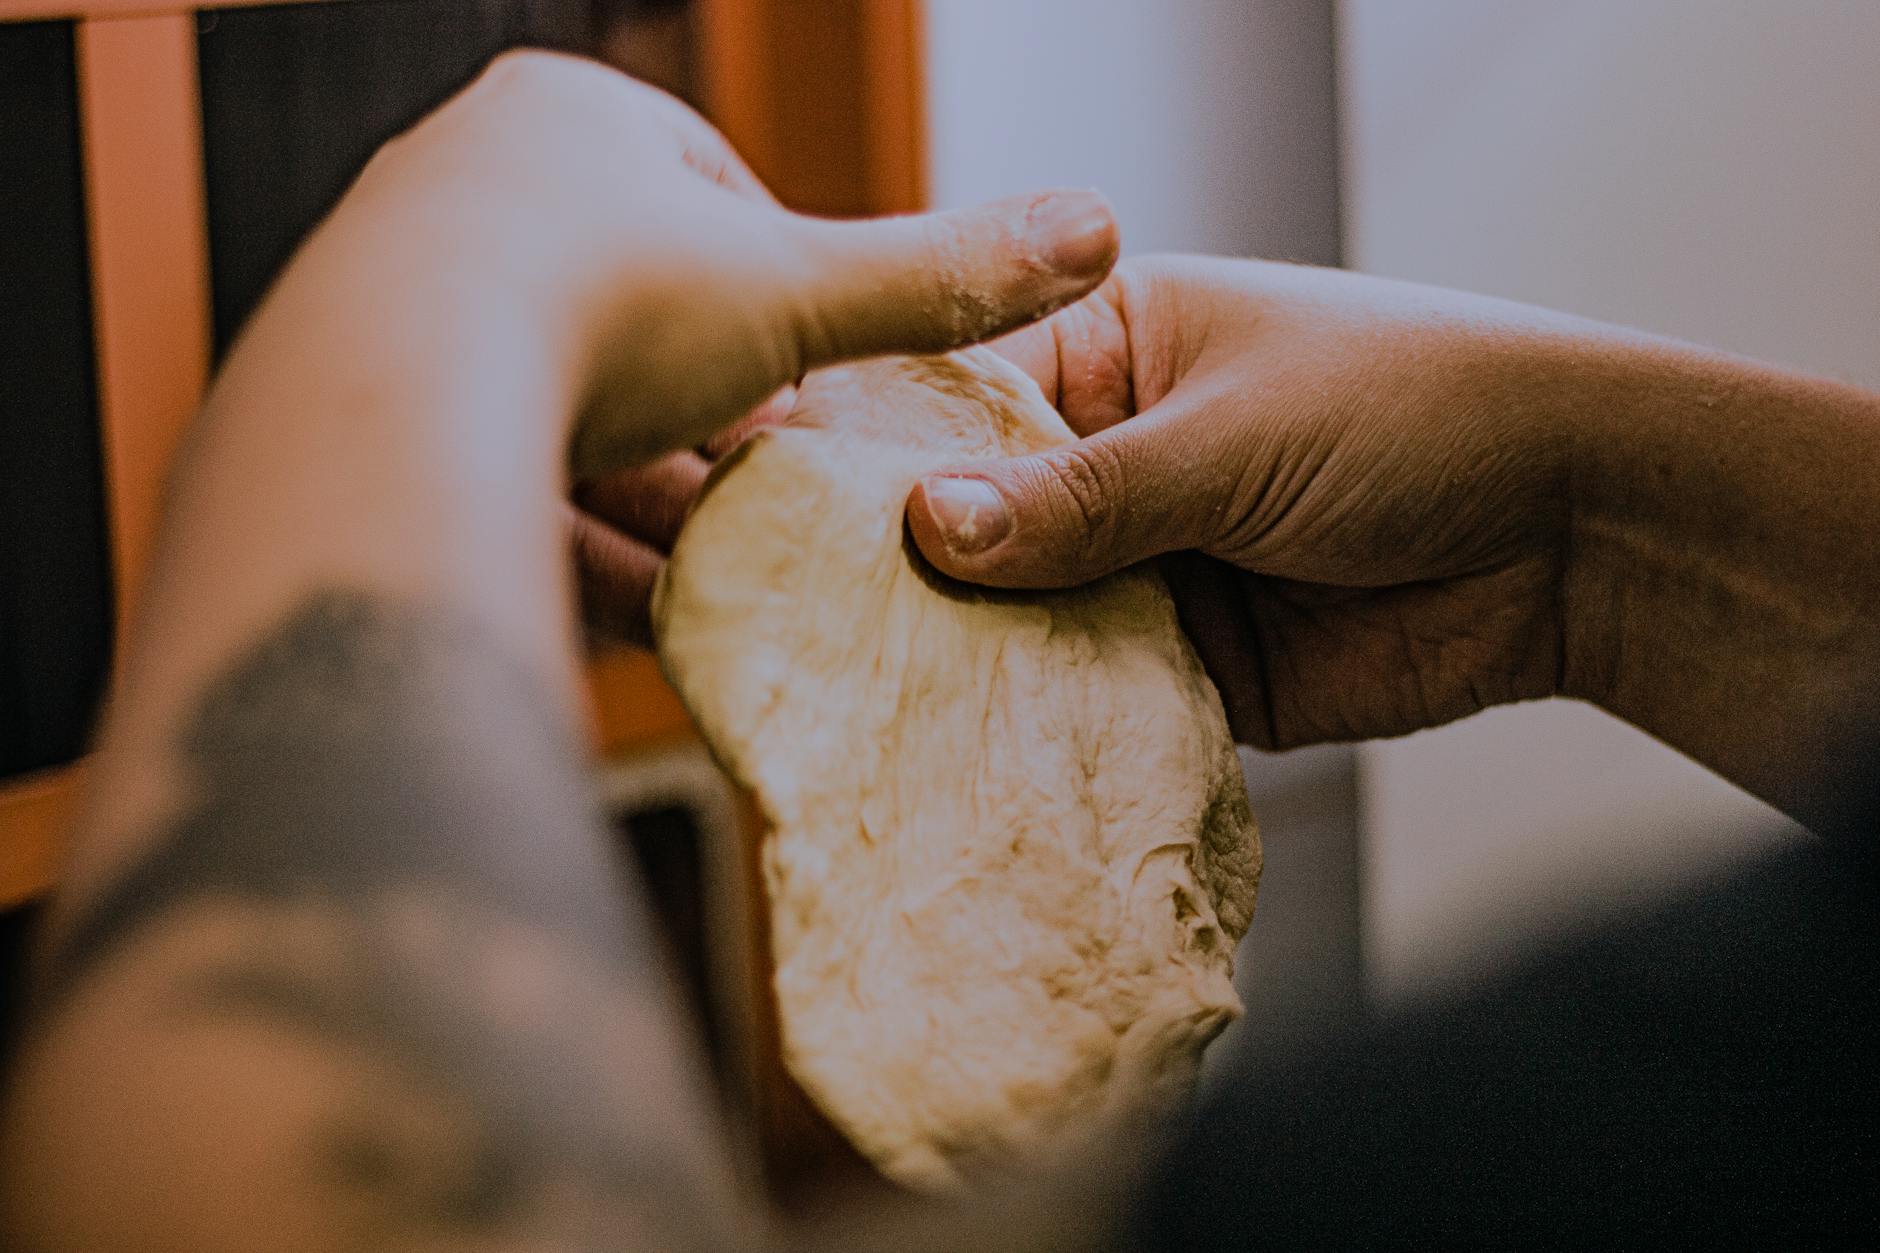
The windowpane test remains the gold standard for assessing gluten development because it directly measures the strength and extensibility of the gluten network. Take a small piece of dough and gently stretch it between your thumbs and fingers. If the dough forms a thin, translucent sheet without breaking, you’ve achieved proper gluten development. If it tears immediately, kneading continues to be necessary. However, this test has meaningful limitations.
Dough with very high hydration (above 75% water) stretches more easily but may tear due to weakness rather than under-kneading. Whole wheat and rye doughs never form perfect windowpanes because their bran particles cut through the gluten strands; these doughs should instead feel smooth and elastic. Additionally, overworked dough can eventually lose strength and become sticky or inelastic, making the windowpane test unreliable for detecting over-kneading. The test also requires practice to interpret correctly. A thin windowpane that breaks slightly isn’t necessarily a failure—you’re looking for strength and elasticity, not perfection.
Visual and Tactile Signs of Properly Developed Dough
The dough surface tells you considerable information. Properly kneaded dough appears smooth and taut, almost with a slight sheen. The surface shouldn’t be sticky to the touch, though it may feel slightly moist. When you press it, it should spring back smoothly within a second or two, not collapse or remain indented. The dough’s behavior during handling offers additional clues.
If you stretch the dough and release it, it should retract somewhat rather than remaining extended. This elasticity indicates that the gluten network can hold its structure. A well-developed dough also holds its shape better during the rise, maintaining a cohesive form rather than spreading thinly or collapsing. When you form the dough into a ball or boule, a properly kneaded dough holds tension on the surface—imagine the outer layer being slightly taut, like the skin of a balloon. Slack, poorly kneaded dough forms without this tautness and appears floppy.
Hand Kneading Versus Machine Mixing: Timing and Technique Differences
Hand kneading and stand mixer kneading develop dough at different rates, making timing comparisons essential. By hand, expect 8-15 minutes depending on flour type and your technique. With a stand mixer using the dough hook, the same result takes 5-8 minutes. No-knead methods work by substituting time for mechanical work, requiring 12-24 hours of rest to develop equivalent gluten strength. The trade-off between methods involves labor, consistency, and control.
Hand kneading demands physical effort but gives you tactile feedback about dough development. Stand mixers produce consistent results with minimal effort but can over-knead if you’re not attentive. No-knead methods require planning but produce excellent results with minimal intervention. For whole wheat doughs, hand kneading often works better because you can feel when the bran has fully absorbed water and the dough achieves proper consistency. Machine mixing sometimes shears whole grain particles unnecessarily. Conversely, very stiff doughs (like bagel dough) benefit from machine mixing because hand kneading becomes genuinely difficult.
Common Mistakes: Over-Kneading and Under-Kneading
Under-kneading remains the most frequent error among home bakers. Dough that hasn’t been kneaded sufficiently produces bread with a dense, tight crumb, insufficient rise, and poor texture. The bread may taste gummy or have large, irregular holes. You’ll notice under-kneaded dough doesn’t spring back when poked and tears easily during shaping. Over-kneading creates different problems and happens more often with machine mixing.
Excessively kneaded dough becomes slack and sticky, loses its elasticity, and may fail to rise properly because the gluten network has been damaged by excessive mechanical stress. The dough feels soupy and difficult to handle. Interestingly, over-kneading is harder to achieve by hand because fatigue naturally limits how much work you can do, but it’s possible with stand mixers if you let them run too long. A critical warning: if your dough develops unusually quickly (3-4 minutes by hand), don’t assume you’re done. Continue to the windowpane test before assuming completion, as flour variety and brand differences significantly affect development speed.

Flour Type and Hydration: How They Change Development Time
Different flours reach proper gluten development at different rates. Bread flour with its higher protein content (12-14%) develops gluten faster than all-purpose flour (10-12%), which develops faster than cake flour (8-9%). If you switch flour brands or types, expect timing adjustments of 1-3 minutes.
Hydration level—the ratio of water to flour—also affects development noticeably. Higher hydration doughs (70%+ water) develop gluten more slowly because water interferes with protein-protein bonding. Lower hydration doughs (55-60% water) develop faster. A bagel dough at 60% hydration develops much faster than a ciabatta dough at 80% hydration, sometimes by 5+ minutes.
Continuing Development Through Bulk Fermentation
Kneading isn’t the only phase where gluten development occurs. During bulk fermentation—the first rise lasting 4-6 hours—the dough continues to develop strength through a combination of biological activity and the physical action of folding. Bakers perform “stretch and folds” every 30 minutes during the first few hours, where you stretch the dough from the edges and fold it over itself.
This technique builds additional strength without aggressive machine kneading. This means you don’t need to over-knead initially. A properly kneaded dough at the start of fermentation will continue developing during the bulk phase, allowing some flexibility in timing. This process has influenced modern bread-making philosophy, where less aggressive initial kneading combined with active fermentation management produces excellent results.
Conclusion
Properly kneaded dough demonstrates several clear indicators: it passes the windowpane test, springs back when poked, appears smooth and slightly shiny, and feels elastic rather than sticky. The specific time required varies based on flour type, hydration, temperature, and kneading method, but the tactile signs remain consistent across these variables.
The most practical approach combines multiple indicators rather than relying solely on time. Start by checking dough consistency at the expected development time, perform the windowpane test, assess the surface appearance, and trust your hands to recognize the correct state. With repeated practice, you’ll develop reliable intuition about when dough has reached its optimal state, allowing you to produce consistently good bread regardless of minor variations in ingredients or conditions.