Yes, you can replace a light fixture yourself without hiring an electrician, provided the power is off and the fixture isn’t connected to a complex circuit with additional switches or dimmer controls. Most standard ceiling and wall fixtures follow a straightforward pattern: disconnect the old wiring, remove the mounting bracket, and reverse the process with the new unit. The key is understanding that electricity isn’t inherently dangerous when the current is cut off—it’s the flow of power that creates hazard, not the fixture itself.
For a homeowner with basic tool skills and 30 minutes of patience, this is one of the few electrical tasks that falls comfortably within DIY territory. The real savings come from avoiding the $100 to $300 electrician service call, which for a straightforward fixture swap amounts to paying primarily for labor and convenience. If you need to rewire a circuit, install a new outlet, or figure out why a switch controls multiple fixtures, that’s when professional expertise becomes essential. But for replacing an existing fixture in good condition with a new one that uses the same mounting system—ceiling dome to dome, wall sconce to wall sconce—this is a manageable weekend project.
Table of Contents
- What Type of Light Fixtures Can You Safely Replace Yourself?
- Turning Off Power and Confirming the Circuit Is Dead
- Removing the Old Fixture and Disconnecting Wiring
- Installing the New Fixture and Making Connections
- Testing and Troubleshooting Common Installation Issues
- Choosing a Fixture That Fits Your Existing Setup
- When to Know Your Limits and Call a Professional
- Conclusion
What Type of Light Fixtures Can You Safely Replace Yourself?
most standard fixtures can be replaced at home without professional help: flush-mount ceiling fixtures, chandeliers, vanity lights above bathroom mirrors, and simple wall sconces all follow the same basic wiring pattern. What matters is whether the fixture is hardwired (soldered or clamped directly into the wall) versus wired through a junction box, and whether the mounting system is compatible with what came before. A fixture screwing into a standard threaded collar will usually fit where an older fixture of similar size was previously installed.
If you’re replacing a recessed can light with another can light, or a chandelier with another chandelier of comparable weight, the existing hardware will likely work. Avoid DIY replacement if the new fixture is significantly heavier than the old one—a 50-pound crystal chandelier replacing a 5-pound flush mount may exceed the weight rating of the ceiling junction box. Similarly, if the fixture requires new circuitry, separate dimmer wiring, or installation of additional junction boxes, stop and call an electrician. Pendant lights that hang from a cord or chain are straightforward if the mounting bracket is compatible; if the new fixture requires a different mounting system entirely, you’re looking at potentially modifying walls or ceilings, which moves beyond simple fixture replacement.

Turning Off Power and Confirming the Circuit Is Dead
The non-negotiable first step is killing power to the circuit at the breaker panel. Flip the corresponding breaker switch to off—if you’re unsure which breaker controls your fixture, turn the room light on, then flip breakers one at a time until the light goes dark. Once you’ve found the right breaker, flip it off and leave it off for the entire project. This matters: electricity won’t flow if there’s no circuit, no matter how many exposed wires are in the fixture. After the breaker is off, test the fixture by flipping the light switch once or twice. The light should not respond at all.
A backup step is using a non-contact voltage tester (a $10 to $15 tool from any hardware store) to confirm there’s no current running through the wires. Touch the tester to the exposed wires inside the junction box—if it beeps or lights up, power is still live somewhere and you should stop and identify the correct breaker. Many electricians do this as routine; it takes 10 seconds and eliminates guesswork. Never assume a light switch is adequate confirmation; breakers are the only reliable kill switch. One limitation of the DIY approach is that older homes sometimes have poorly labeled breaker panels, and you might spend 20 minutes flipping breakers to find the right one. If the panel is unlabeled or confusing, photographing it with a phone and taking that photo to a hardware store clerk can save time. If a breaker is hot to the touch, doesn’t stay in the off position, or seems physically damaged, that’s a sign the electrical panel itself needs professional inspection—don’t proceed.
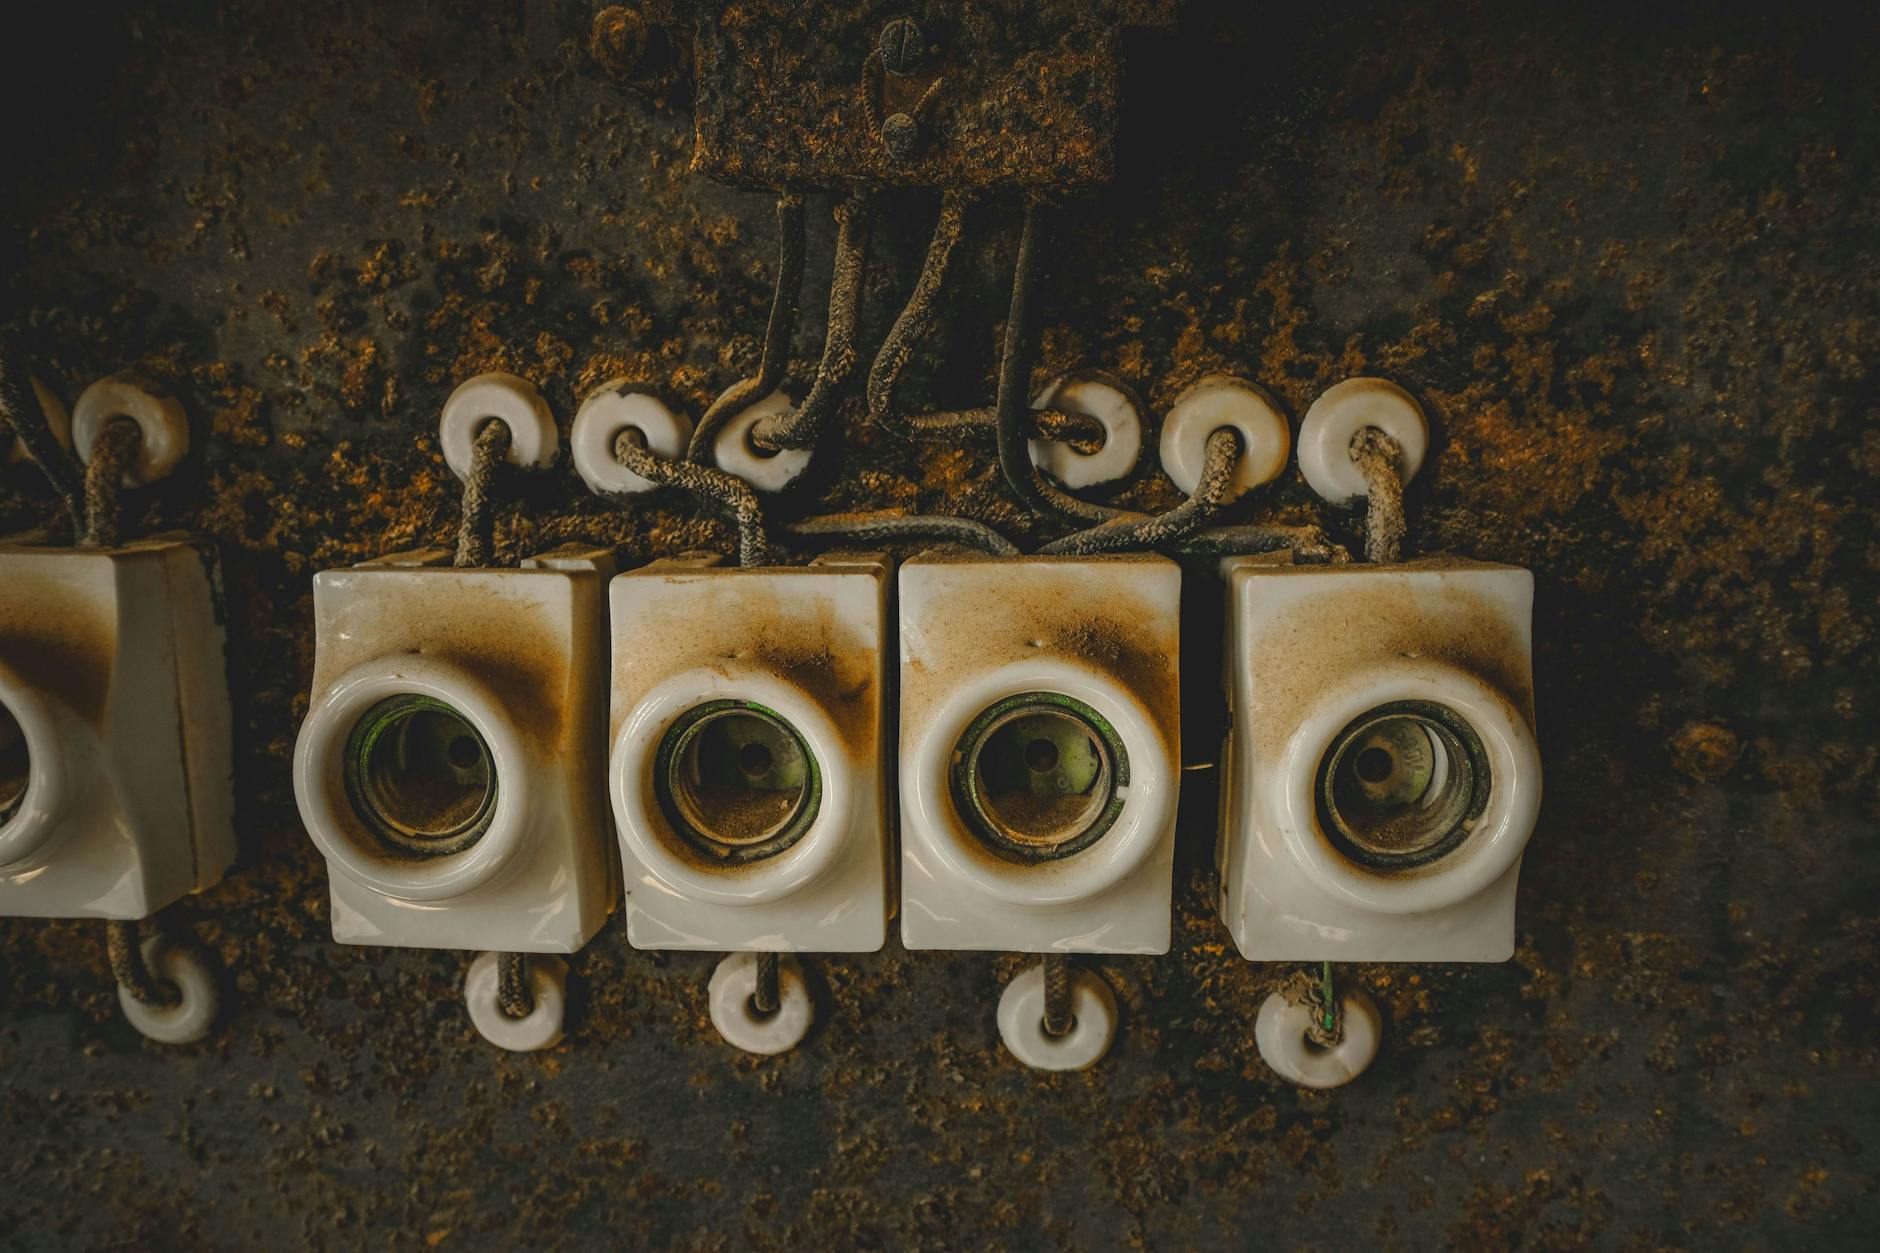
Removing the Old Fixture and Disconnecting Wiring
Once power is confirmed off, unscrew or uncap the fixture’s trim ring or canopy—the decorative covering that hides the junction box opening. This typically involves two or three screws. As it comes loose, you’ll see the wiring bundle: usually three or four wires (hot, neutral, ground, and sometimes a spare). These wires are connected with wire nuts—small plastic caps twisted onto the twisted wire ends. Untwist each wire nut by hand; the wires should come apart cleanly. The hot wire is typically black, neutral is white, and ground is either bare copper or green. If the old fixture has a different color scheme (common in older homes), the position relative to the others usually follows the same pattern.
Disconnect each wire pair by untwisting the nuts, then gently pull the fixture away from the junction box. If there’s a mounting bracket bolted to the box, unbolt it and set it aside—you’ll likely reuse it for the new fixture unless the new one comes with its own bracket. Before touching any wire, mentally note where each one came from. Taking a photo of the connection points can be useful if you’re nervous about the process. Some homeowners use painter’s tape to label each wire before disconnecting, though this is overly cautious for a straightforward swap. The important limitation is that if you encounter aluminum wiring, heavily corroded connections, or wires that crumble when touched, stop—these are signs of aging electrical issues that need professional evaluation. If the junction box itself seems loose or wobbly, it may need reinforcement before a new fixture is installed.
Installing the New Fixture and Making Connections
Start with the new fixture’s mounting bracket, which may be the old bracket reused or a new one from the package. Bolt it firmly to the junction box so it won’t shift when the fixture’s weight is applied. The bracket should be level and secure enough that you can hang a fixture from it without it moving. Now comes the actual wiring: take the hot wire from the new fixture (black) and twist it together with the hot wire in the junction box (also black). Twist them together for half an inch or so, then screw a wire nut onto the bundle and twist until tight—the nut should be snug enough that pulling on it doesn’t separate the connection. Repeat this for the neutral wires (white) and ground (bare copper or green).
Many fixtures come with short pigtail wires attached; if so, you’re simply connecting these pigtails to the house wiring, not the fixture wires directly. Once all three connections are made, gently fold the wires back into the junction box—they should fit without being crammed or pinched. The tradeoff here is that some newer, heavier fixtures come with thick-gauge wire that’s harder to twist together than the thin wire in older light switches. If the wires are substantially different thicknesses, you may need to use a wire connector that accommodates the size difference, or twist more aggressively to create a solid mechanical connection before applying the nut. Test the connection by tugging gently—if a wire pulls loose, redo the twist. Once you’re confident, attach the fixture’s canopy or trim ring, screw it firmly into place, and restore power at the breaker.
Testing and Troubleshooting Common Installation Issues
After power is restored, test the fixture by flipping the light switch. It should turn on and off normally. If it doesn’t work, turn the breaker back off and recheck each wire connection—often, a loose wire nut is the culprit. Untwist the nut, re-twist the wires, and try again. If the fixture flickers or dims unexpectedly, the connection may be intermittent; that’s a sign to tighten the wire nuts further or remake the connections entirely. A common issue is discovering that the new fixture is too large for the junction box opening, leaving the canopy unable to sit flush against the ceiling.
This is cosmetic but sloppy. If the gap is more than a quarter-inch, the junction box itself may need to be repositioned or the opening enlarged—again, this is professional territory. Another warning: if the fixture works but other lights in the room go out, you may have accidentally disturbed a wire or connection in the main circuit, or the junction box is shared with another fixture. Turn everything off, trace the circuit, and confirm all connections are solid. A limitation of the DIY approach is that you won’t have the same insurance coverage if something goes wrong—if an electrical fire occurs and an unlicensed person installed the fixture, homeowner’s insurance may contest claims. That said, such cases are exceedingly rare for straightforward fixture swaps if power is properly isolated. If you experience any burning smells, sparks, or unusual heat, stop immediately, turn the breaker off, and call an electrician before proceeding further.

Choosing a Fixture That Fits Your Existing Setup
Before purchasing a new fixture, confirm that its mounting system matches your existing junction box and ceiling configuration. Measure the diameter of the trim ring or canopy; it should be at least as large as the old fixture’s to avoid gaps. Check the fixture’s weight rating against what your junction box is designed to support—most standard residential boxes handle up to 50 pounds, but older homes or specialty installations may have different limits. The fixture packaging or manual usually states this clearly.
For example, if you’re replacing a 40-year-old surface-mounted fixture with a new recessed can light, you’re not just changing the fixture—you’re potentially changing how power flows to the ceiling. Recessed lights mount inside the ceiling cavity, not on the surface, and require different wiring and positioning. This sounds straightforward but can involve cutting into the ceiling, moving junction boxes, or adding new wiring runs. A simple surface-to-surface swap takes 20 minutes; a surface-to-recessed conversion can take two hours or more and may reveal complications during installation.
When to Know Your Limits and Call a Professional
The line between DIY and professional help is usually clear: if the fixture mounting system is different, the wiring doesn’t match the standard three-wire pattern, or you discover any signs of electrical damage during removal, stop and call an electrician. Unusual wire colors, missing grounds (bare copper or green), or evidence of previous repairs done without proper technique are all red flags. Burning smells, discolored wiring, or melted insulation near the junction box also indicate that the circuit itself needs inspection before any fixture work proceeds. As homes age and electrical demands increase, the original fixtures and wiring often become outdated.
A fixture replacement is a good opportunity to assess whether the circuit itself is healthy and whether it can support the load you’re placing on it. Many electricians offer quick inspections for $50 to $100, which can reveal problems you might otherwise miss during a DIY swap. This is particularly worth doing in older homes, rental properties, or circuits that have had previous problems. The small cost of an inspection can prevent larger issues down the line.
Conclusion
Replacing a light fixture without an electrician is feasible for most homeowners and can save $100 to $300 in service calls. The core requirement is confirming power is off, understanding the three-wire connection pattern (hot, neutral, ground), and ensuring the new fixture’s mounting system matches your existing junction box. A straightforward swap takes 30 to 45 minutes and requires only basic tools: a screwdriver, wire nuts (usually included with the new fixture), and optionally a non-contact voltage tester.
The decision to DIY depends on the fixture type, your comfort level with basic electrical work, and whether any complications arise during removal. For standard ceiling fixtures, vanity lights, or wall sconces where the mounting system is unchanged, this is a project worth attempting. For heavier fixtures, unusual wiring configurations, or circuits showing signs of age or damage, professional help is the safer and ultimately more economical choice. When in doubt, call—an electrician’s time costs less than an electrical fire.