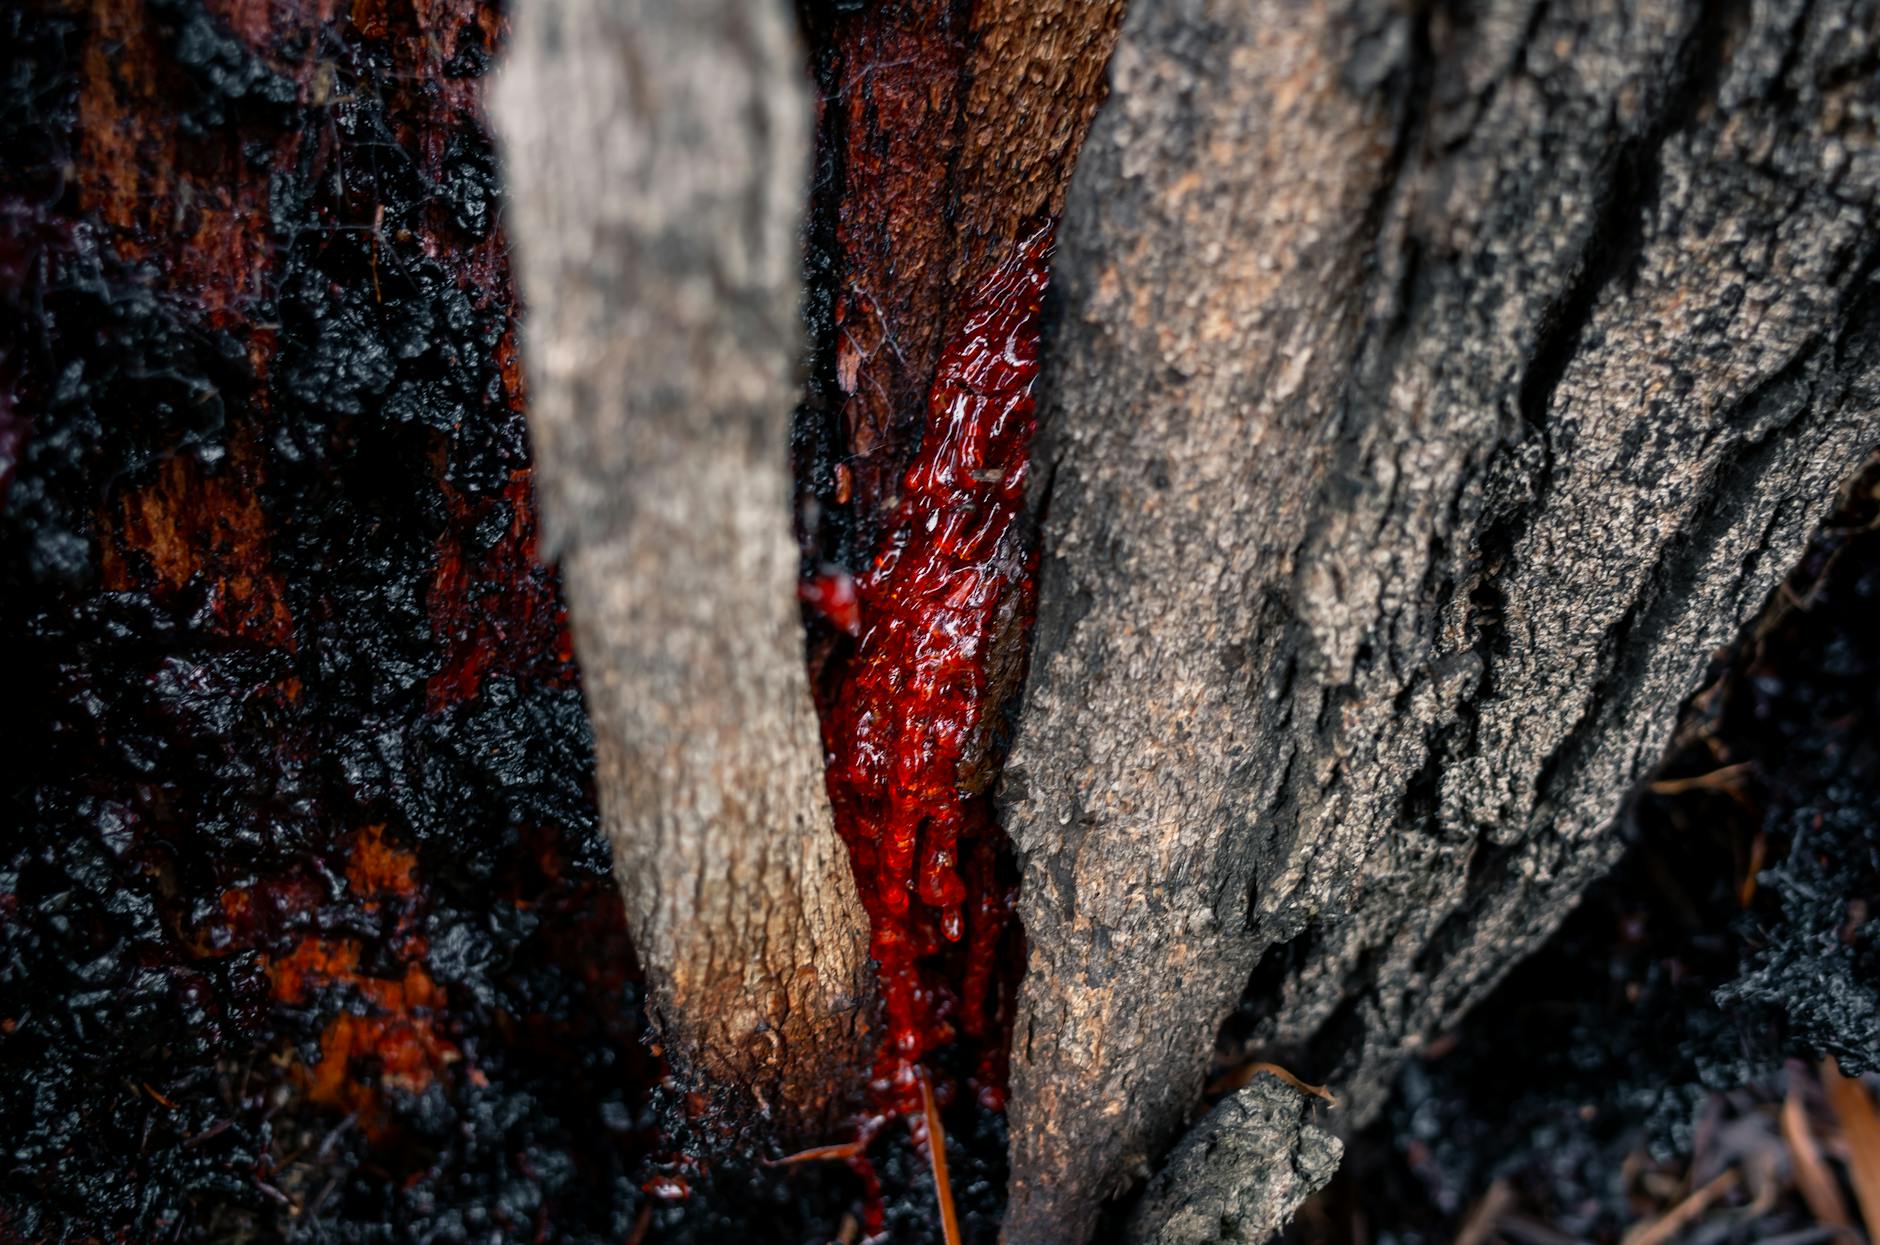
Tree sap can be removed from your car without damaging the paint by acting quickly and using the right method—the key is addressing it within a few days of discovery before the sap hardens and the natural acids, sugars, and organic compounds in it begin to etch your clear coat. If you notice sticky sap on your hood or trunk after parking under trees, your first move should be to use hot water and mild soap with a soft sponge, which works best on fresh sap. For harder, dried-on sap, isopropyl alcohol applied to a microfiber cloth will dissolve it safely when rubbed in circular motions.
This article covers the safest methods to remove tree sap at different stages of hardening, explains which commercial products work best, details what to absolutely avoid, and shows how to restore your paint’s protective finish once the sap is gone. Tree sap removal isn’t complicated, but it requires patience and the right approach. Many car owners damage their paint by reaching for the wrong tools—acetone, razor blades, or concentrated alcohols—when gentler alternatives would do the job without leaving scratches or dull spots. Understanding why tree sap is dangerous and which removal method suits your situation will save you from costly repainting later.
Table of Contents
- Why Tree Sap Damages Paint and the Importance of Quick Action
- The Hot Water and Mild Soap Method: Your Gentlest Starting Point
- Isopropyl Alcohol and the Microfiber Cloth Technique
- Professional Clay Bar Removal: The Deep Clean Approach
- Commercial Sap Removers: Targeted Formulations That Work Fast
- Restoring Your Paint’s Protective Coating
- Prevention Strategies to Minimize Future Tree Sap Problems
- Conclusion
Why Tree Sap Damages Paint and the Importance of Quick Action
Tree sap contains natural acids and organic compounds that attack automotive finishes, especially the clear coat that protects your paint color. The longer sap sits on your car, the harder it becomes and the deeper it can bond to the surface. Within just a few days, sap can harden so completely that simple washing won’t remove it, and waiting weeks risks permanent etching—those dull or cloudy patches that develop after sap finally dries become difficult or impossible to remove without professional polishing or repainting.
The risk increases dramatically if you live in areas with pine, oak, or fir trees, which produce particularly heavy sap loads. If you park regularly under trees or notice sap on your car after heavy rain or windy days, you’re likely to encounter this problem repeatedly. This is why checking your vehicle weekly during spring and summer—especially after storms—is your best defense. Catching sap while it’s still wet or only slightly sticky makes removal nearly effortless, sometimes requiring nothing more than warm water and soap.
The Hot Water and Mild Soap Method: Your Gentlest Starting Point
The safest initial approach is also the simplest: hand-wash the affected area with hot water and a soft sponge, using mild car wash soap. Hot water is crucial because it softens the sap, making it far easier to dislodge before it fully hardens. This method works best when you address sap within hours or a day of discovery—at this stage, the sap is still semi-sticky and responds well to gentle heat and agitation.
However, if the sap has already hardened and this method doesn’t completely remove it after five or ten minutes of gentle rubbing, stop and move to a stronger approach. Scrubbing harder with hot water alone won’t accelerate the process and may scratch the clear coat. Once the sap reaches a certain dryness level, you need a solvent to help break the chemical bonds holding it to your paint. This is the critical limitation of the hot water method—it’s excellent for prevention and early intervention, but ineffective against sap that’s been baking in the sun for days.
Isopropyl Alcohol and the Microfiber Cloth Technique
Isopropyl alcohol is the workhorse of tree sap removal because it dissolves sap without attacking the clear coat or paint beneath. Pour isopropyl alcohol onto a microfiber cloth—using the cloth rather than applying alcohol directly to the paint prevents over-saturation and allows you to maintain control—and hold it against the sap spot for about 30 seconds to allow penetration. Then rub in small circular motions, applying gentle to moderate pressure. The sap should gradually ball up and dissolve; you’ll often see it breaking apart as you rub.
One practical example: a quarter-sized blob of pine sap on a car hood might take 2–3 minutes of work with isopropyl alcohol, whereas hot water alone would accomplish nothing. The trade-off is that isopropyl alcohol works slowly compared to harsher solvents, but that slowness is actually a benefit—it gives you control and significantly reduces the risk of damaging the clear coat. If you’re working on multiple sap spots, use a fresh section of the microfiber cloth for each one to avoid transferring any grit or contamination that might scratch the paint. Professional detailers favor this method for this reason.

Professional Clay Bar Removal: The Deep Clean Approach
A clay bar is a specialized detailing tool made from fine abrasive material that safely lifts hardened sap and other contaminants from the paint surface. Medium-duty clay bars are specifically designed for paint-safe removal and are frequently used by professional detailers. To use one, first rinse the area with water, then lubricate it with a clay bar lubricant (a spray mixture designed to help the bar glide smoothly). Glide the clay bar gently across the sap, using light pressure.
The sap will gradually adhere to the clay as you work; knead the clay to fold the contamination inside and present a fresh surface. Clay bars are more aggressive than isopropyl alcohol but less risky than commercial sap removers, making them ideal if you’ve already tried alcohol without complete success or if you’re dealing with multiple sap spots. However, clay bars do require you to buy the tool itself, typically costing $10–$20 for a complete kit with lubricant, whereas isopropyl alcohol is usually already in your medicine cabinet. Another consideration: clay bars work best on paint that’s already been rinsed, so you can’t use them on completely dry sap in the same way you’d use alcohol. Many car enthusiasts combine methods—starting with alcohol to soften the sap, then following up with a clay bar for a completely smooth finish.
Commercial Sap Removers: Targeted Formulations That Work Fast
If alcohol and clay bars haven’t fully solved the problem, commercial sap removers offer faster, more targeted solutions. Products specifically designed for this purpose—such as Stoner Tarminator, Koch-Chemie Eulex, and TopCoat® SapErase™—are formulations engineered to dissolve tree sap without damaging clear coat. These products work by chemically breaking down the compounds in sap much faster than isopropyl alcohol alone.
The critical warning here is to never improvise with similar-sounding products. Acetone, nail polish remover, and concentrated alcohols that seem like they might work will actually damage or remove your clear coat, leaving dull patches or hazing that’s permanent without expensive repainting. The difference between a dedicated sap remover and a household solvent is that sap removers are formulated to dissolve organic compounds without attacking the polymers in automotive finishes. When using commercial removers, always follow the product’s instructions exactly—most require applying the product, letting it sit briefly, then wiping with a clean cloth rather than scrubbing.

Restoring Your Paint’s Protective Coating
Once you’ve successfully removed the sap using any method, your paint’s protective finish has been compromised. Tree sap removal strips away some of the wax or sealant that normally shields the paint from UV rays and contaminants. Reapplying wax or a paint sealant after sap removal is not optional if you want to prevent oxidation and future damage—this step brings your paint’s protection back to its original standard.
Apply a quality automotive wax or paint sealant according to the product instructions, typically using an applicator pad in circular motions, then buffing with a microfiber towel once the product has cured. This process takes 20–30 minutes but protects your paint investment for months. Many car owners neglect this step because they assume that once the sap is gone, the job is finished—then they’re puzzled when that spot develops a dull appearance weeks later. The wax restoration isn’t just cosmetic; it’s essential maintenance that prevents further damage.
Prevention Strategies to Minimize Future Tree Sap Problems
While removal methods exist, preventing tree sap buildup is always better than fighting it after the fact. If you regularly park under trees, consider parking in a different spot during heavy sap seasons—typically spring and early summer—or invest in a car cover for overnight parking. Regular washing (every two weeks during high-sap season) removes fresh sap before it hardens, and a good coat of wax provides extra protection against chemical bonding with the paint.
Over the coming years, as climate patterns shift and tree stress increases in urban areas, tree sap problems may become more frequent for car owners in certain regions. Staying proactive with prevention—checking your car weekly, parking strategically when possible, and maintaining protective coatings—will keep your paint in better condition than reactive removal alone. Some car enthusiasts now apply ceramic coatings specifically because these provide superior protection against tree sap, bird droppings, and other organic contaminants.
Conclusion
Removing tree sap from your car without damage is entirely achievable when you address it quickly and use the right method for the sap’s stage of hardening. Start with hot water and mild soap for fresh sap; graduate to isopropyl alcohol on a microfiber cloth for harder spots; try a clay bar for deeper contamination; and turn to commercial sap removers only if other methods fail. The universal rule is to avoid acetone, razor blades, and concentrated solvents—these damage clear coat far worse than the sap itself.
After removal, always reapply wax or sealant to restore your paint’s protective barrier. By combining quick action, the appropriate removal technique, and proper aftercare, you’ll preserve your car’s finish and avoid the costly professional repainting that comes from neglected tree sap damage. Making this a weekly habit during sap season will keep your paint in showroom condition for years.